Run Jupyter Notebooks with Python Virtual Environments
Create an isolated Python virtual environment and use it with Jupyter Notebooks
On this page
Jupyter Notebooks are a great explaratory tool for writing code and testing out ideas. They are specially useful for data science and machine learning projects. However, like most Python projects, Jupyter Notebooks and dependencies can also get messy and hard to manage. One way to keep things organized is to use Python virtual environments.
In this guide, we will see how to create a virtual environment and use it with Jupyter Notebooks.
Install Jupyter Notebook
In case you want to install Jupyter Notebook from scratch, follow the steps in this guide to install & run Jupyter Notebook.
Create a virtual environment
We will use venv to create a virtual environment. You can also use conda if you prefer.
A) Ensure you have venv installed. If not, run the following command:
sudo apt install python3-venvB) Create a new virtual environment. We will call it .env.
python3 -m venv .envC) Activate the virtual environment.
source .env/bin/activateAdd the virtual environment to Jupyter Notebooks
A) Install ipykernel in the virtual environment.
pip install ipykernelB) Add the virtual environment to kernel list
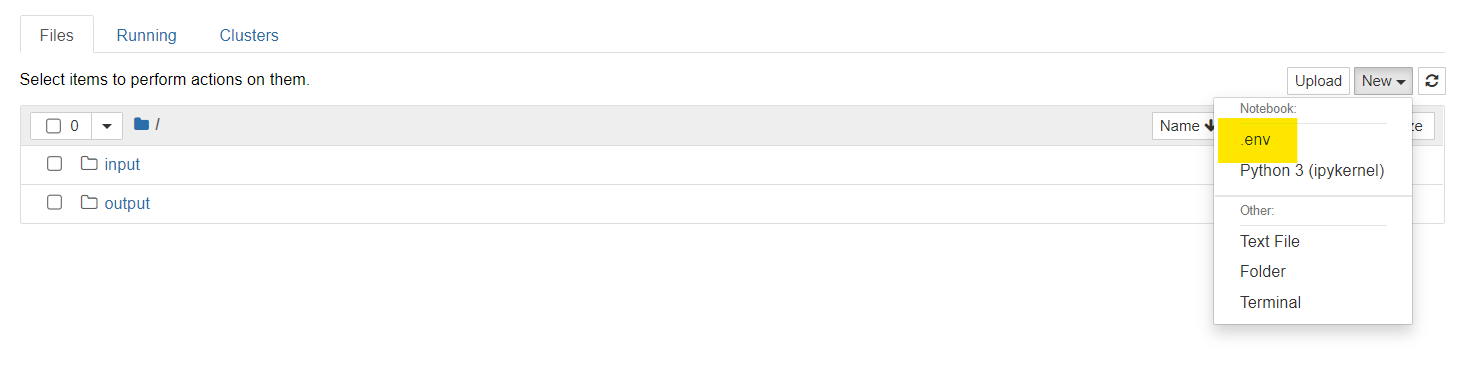
python3 -m ipykernel install --user --name=.envC) Start the notebook and select the virtual environment from the kernel list.
jupyter notebookYou should see the .env kernel in the list when you create a new notebook.
Need help?
Start a discussion on GitHub if you’ve got questions or improvements. Open discussions →