Install Ubuntu in a VM on Windows using Hyper-V
Step by step guide to install Ubuntu 20.04 in a VM on Windows using Hyper-V
On this page
I wrote earlier about how to install Ubuntu 20.04 using WSL2 on Windows, and also how to configure Hyper-V on Windows 10/11 Home edition. IN this post I will show you how to install Ubuntu 20.04 in a VM on Windows using Hyper-V.
You need to have Hyper-V enabled on your Windows 10/11, you can follow this guide to enable it.
Download the Ubuntu ISO
Download the Ubuntu 20.04 ISO from here.
Create a New VM
Step 1: Open the Hyper-V Manager
Open the start menu and search for “Hyper-V Manager”. Click on “Open”, to start the Hyper-V Manager.

Step 2: Create a new VM
Next, in the Hyper-V Manager, click on “New” in “Actions” panel on right, then select “Virtual Machine”. This will start the “New Virtual Machine Wizard”
Step 3: Configure the VM
- Before You Begin - This is an informational panel, click on Next to continue.
- Specify Name and Location - Enter a name for the VM. You can leave the location to default. Press Next.
- Specify Generation - Select the generation of the VM, choose “Generation 2” and press Next.
- Assign Memory - Select the amount of memory to assign to the VM. You can leave the default, I chose 2048 MB. Press Next.
- Configure Networking - Click on Connection and choose Default Switch. Press Next.
- Connect Virtual Hard Disk - You can leave the defaults. Press Next.
- Installation Options - Select the “Install an operating system from bootable image file, browse to select the Ubuntu ISO you downloaded earlier, and press Next.
- Summary - Click on Finish to finish configuration and create a VM.
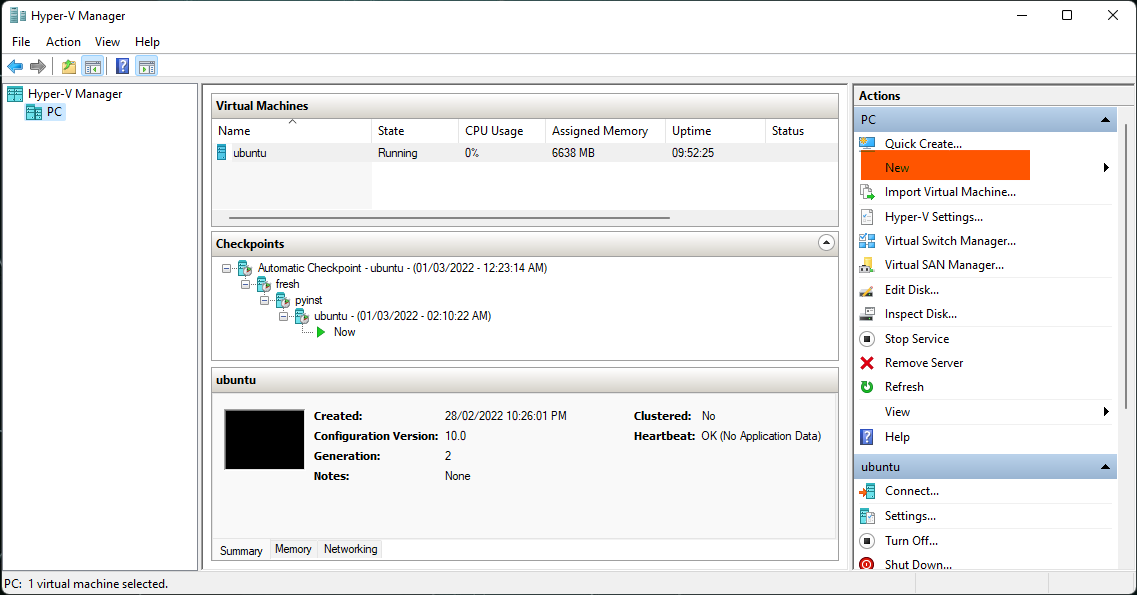
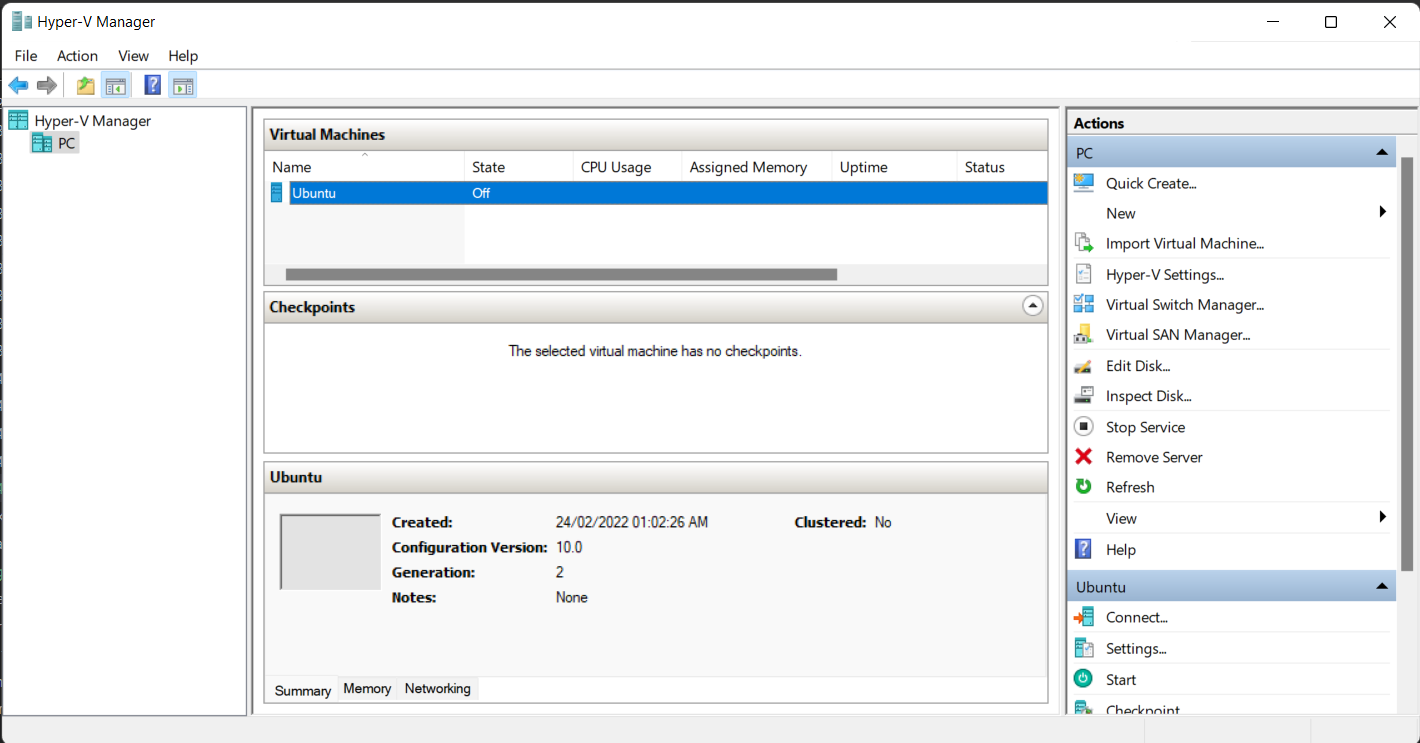
Now you should see a new VM in the “Virtual Machines” list.
Configure Boot Options
Before you can start you Ubuntu VM, you need to configure UEFI settings. Right click on the VM you created and select “Settings”.
In the settings menu that opens, click on Security. Then under Secure Boot, check the Enable Secure Boot checkbox then in Template dropdown, choose Microsoft UEFI Certificate Authority.
Now click on Apply and then on OK to close the settings menu.
Start the VM
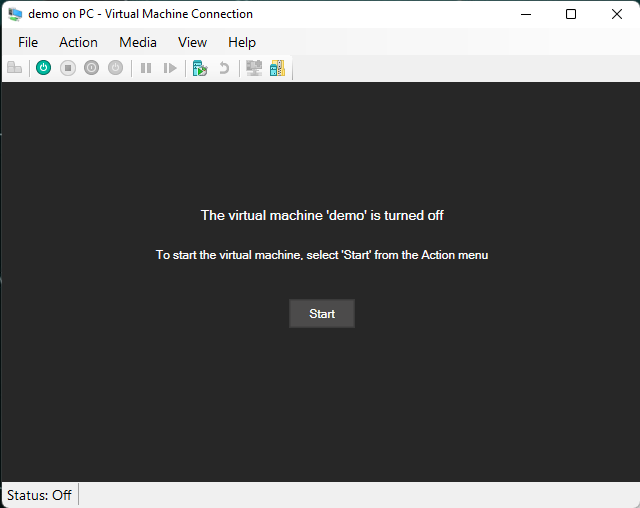
Now, right click on the VM you want to start, then click on Connect. In the dialog that opens, click on Start.
If you see a boot menu, don’t do anything it will skip in a few seconds.
On the first boot, the Installation Wizard will guide you. Follow the steps to complete the Ubuntu Installation.
Configure Ubuntu Installation
Follow the below steps, these are recommended by me personally, but you can choose as per your convinience.
- Welcome - Select the Language (English), then click on Install Ubuntu.
- Keyboard layout - Select your keyboard layout and language and press Continue. I chose defaults (English US as both language and keyboard layout).
- Updates and other software - Leave the defaults, press Continue.
- Installation type - Leave the defaults, press Install Now. In the confirmation dialogue for Write the changes to disks, click on Continue.
- Where are you - You can choose your timezone, usually the default is correct. Press Continue.
- Who are you - You can choose your name, username, password. The computer name is generated automatically, but you can override and choose as per your need. Press Continue.
This will start the installation process, it will take a few minutes to complete. After the installation is complete, you will get a prompt to restart the VM. Click on Restart.
If restart process is stuck, go back to the Hyper-V Manager and right click on VM and click on Turn off. Then right click again, click on “Connect” and then click on “Start”.
Configure your Ubuntu Profile
On the first login a configuration will guide you through profile settings.
- Connect Your Online Accounts - Choose one of the accounts in the option or skip by pressing “Skip” on top right.
- Livepatch - You can setup up Livepatch or skip by pressing “Next” on top right.
- Help improve Ubuntu - I chose “No, don’t send system info to disable telemetry. Click on Next.
- Privacy - I chose to turn off Location Services. Click on Next.
- You’re ready to go - Choose any additional software you want to install. Click on Done.
This should complete the setup.
[Bonus] Configure your Ubuntu run in fullscreen mode with full resolution
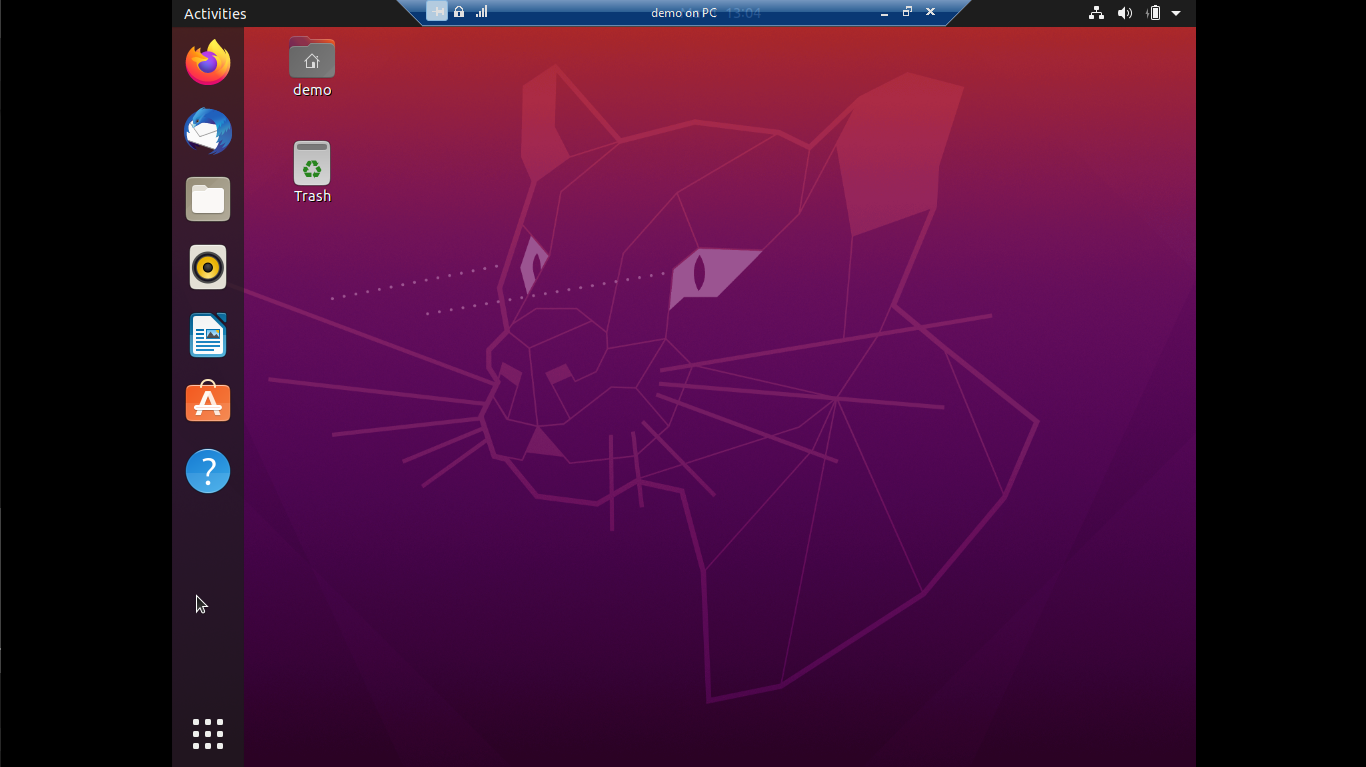
If you notice above, the resolution and aspect of the VM is not the same as the monitor. You will also not be able to change this in the display settings.
To run the VM in fullscreen mode with full resolution, follow the instructions in this guide: Make Ubuntu Fullscreen on Windows Hyper-V.
Need help?
Start a discussion on GitHub if you’ve got questions or improvements. Open discussions →