How to install WSL2 on Windows 10/11
The process of installing WSL2 can differ slightly depending upon the version of Windows you are using, so choose the easy way below if you're running the latest updates of Windows 10/11, otherwise, follow these instructions below to install WSL2 manually.
To install WSL2, you must be running the following versions of Windows 10/11
- For x64 systems: Version 1903 or higher, with Build 18362 or higher
- For ARM64 systems: Version 2004 or higher, with Build 19041 or higher.
- Builds lower than 18362 do not support WSL 2. You will need to update your version of windows.
Installing WSL2 on Windows 10/11 (The easy way)
If you're running Windows 10 version 2004 or higher (Build 19041 and above) or windows 11, installation is as simple as running the below command.
wsl --install
This will take care of all the steps required, i.e.
- Enable Windows Virtualisation Layer and WSL2
- Update the Linux kernel to the latest version
- Install the default Linux distribution, i.e. latest Ubuntu (Currently Ubuntu 20.04)
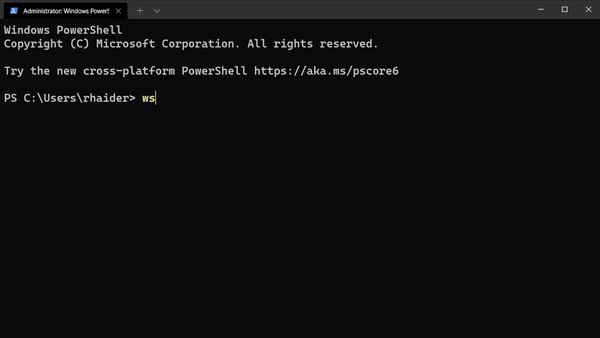
Then type wsl in your terminal and press enter to login to WSL2.
Installing WSL2 on Windows 10/11 (The hard way)
If you're running Windows 10 version 1903 or lower (Build 18362 and below), you will need to install WSL2 manually.
Step 1: Enable Windows Subsystem for Linux (WSL)
Open the Windows Terminal or Powershell, and type the following command to enable WSL:
dism.exe /online /enable-feature /featurename:Microsoft-Windows-Subsystem-Linux /all /norestart
Step 2: Enable Windows Virtual Machine Platform
In the Windows Terminal or Powershell, type the following command to enable Windows Virtual Machine Platform:
dism.exe /online /enable-feature /featurename:VirtualMachinePlatform /all /norestart
Step 3: Update the Linux kernel to the latest version
This requires you to download the WSL2 Linux kernel update MSI package, choose the appropriate version from below, and install it. 1. WSL2 Linux kernel update MSI package for x64 systems 2. WSL2 Linux kernel update MSI package for ARM64 systems
Step 4: Set WSL2 as the default version
Installing WSL2 in Step #3 doesn't change the default version of WSL from 1 to 2. To change the default version of WSL, you must run the following command in terminal or powershell:
wsl --set-default-version 2
Step 6: Install your preferred Linux distribution
You can choose from 10+ distributions available on Microsoft Store. To install, open Microsoft Store, and search for the Linux distribution you want to install then click on the Get button.