How to install Node.js and NPM on WSL2
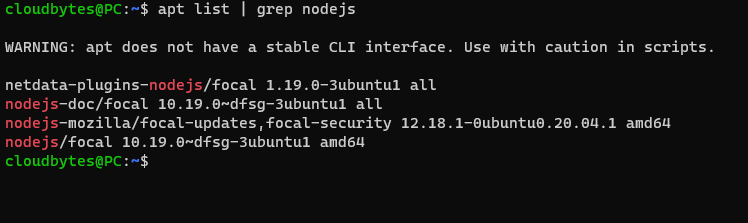
If you are using WSL2 / Ubuntu, you can try to install Node.js by running "sudo apt install nodejs", but this will not install the latest version of Node.js. You can the check the version of Node.js available in Ubuntu's default repository by running the below command:
apt list | grep nodejs
This guide will walk you through the steps to install the latest version of Node.js on WSL2.
Install NVM (Node Version Manager)
Install the latest version of NVM by running the following command:
curl -o- https://raw.githubusercontent.com/nvm-sh/nvm/v0.39.1/install.sh | bash
NOTE: You can get the latest versionof the above command by vising the NVM GitHub Repository
Confirm your installation and check version of NVM by running the following command:
nvm --version
Populate the NVM list
Fetch all versions available in NVM by running the following command:
nvm ls-remote
Install Node.js & NPM
Now you can install the latest version of Node.js by running:
nvm install node
This will install both the latest version of Node.js and NPM.
node above is an alias for the latest version of Node.js. To install a specific version of Node.js, replace node by the version and run the command, e.g. to install v16.13.1 run:
nvm install v16.13.1
Now confirm the version of Node.js installed by running the following command:
node --version
You can also check the version of NPM by running the following command:
npm --version