Install and configure AWS Cloud Development Kit (AWS CDK)
A guide to how to install and configure AWS CDK on Windows 10/11, MacOS, and WSL2/Linux.
On this page
In this article, we will learn how to install and configure AWS CDK and SAM CLI. This is a prerequisite for the AWS CDK series. There are two steps to this process:
- Install NVM and Node.js
- Install AWS CDK CLI using NPM
- Install AWS SAM CLI
Now you may think why do we need to install NVM and Node.js instead when we will use Python?
Well, AWS CDK CLI is mainly available as a NPM package so installing it from NPM is the easiest way. This allows us to use the CDK CLI to create and manage CDK projects.
The actual CDK project will be written in Python but we will use the CDK CLI to create and manage the project.
Prerequisites
- AWS CLI: Follow the guide here to install and configure AWS CLI for your operating system.
- AWS SAM CLI: Follow the guide here to install and configure AWS SAM CLI for your operating system.
Install NPM & Node.js
For WSL2 on Windows 10/11 or Linux
We will be using Ubuntu 22.04 LTS on WSL2 on Windows 10/11 for this series. But this guide should work for any other version. We will install NVM, Node.js, AWS CDK, and AWS SAM CLI.
a) Let’s first make sure curl is installed.
sudo apt-get install curl -yb) Then, install NVM & NPM using the following command.
curl -o- https://raw.githubusercontent.com/nvm-sh/nvm/master/install.sh | bashc) Then, restart the shell then run the below command to verify that NVM is installed.
nvm --versiond) Now, install Node.js using the following command. I prefeer installing the LTS version to ensure a bug-free experience.
nvm install --lts
After this, jump to the Install AWS CDK CLI section.
For Windows 10/11
If WSL2 is not available, you can install Node.js on Windows 10/11 directly.
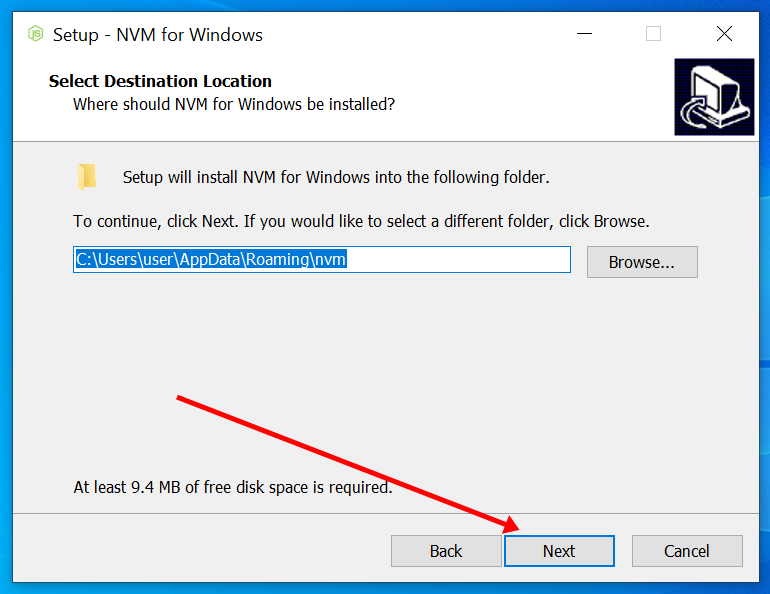
a) First, install nvm-windows by downloading the installer from here.
b) Confirm the installation by running the following command in PowerShell.
nvm --versionc) Finally, install Node.js using the following command.
nvm install lts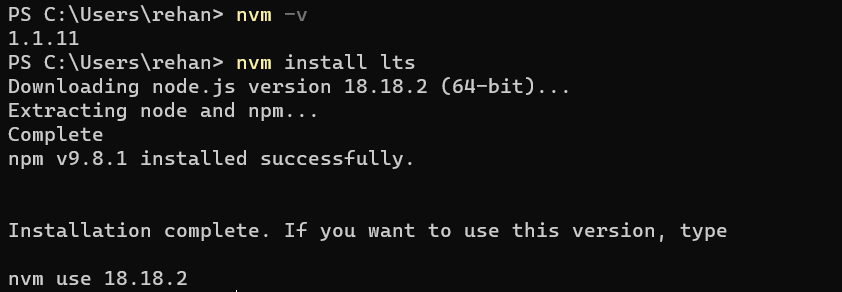
After this, jump to the Install AWS CDK CLI section.
For MacOS
a) For MacOS, you need homebrew installed. If you don’t have it installed, you can install it using the following command.
/bin/bash -c "$(curl -fsSL https://raw.githubusercontent.com/Homebrew/install/HEAD/install.sh)"b) Add homebrew to your PATH by running the following command.
echo "# Homebrew\nexport PATH=/opt/homebrew/bin:\$PATH" >> .zshrcc) Then, restart the shell.
source ~/.zshrcd) Install nvm using the following command.
brew install nvme) We will need to create a directory for nvm to store its files. Run the following command to create the directory.
mkdir ~/.nvmf) Then, nvm to to your ~/.zshrc profile.
echo "export NVM_DIR=~/.nvm\nsource \$(brew --prefix nvm)/nvm.sh" >> .zshrcg) Restart the shell again.
source ~/.zshrch) Finally, install Node.js using the following command.
nvm install --ltsInstall AWS CDK CLI
Now that we have installed NVM and Node.js, we can install AWS CDK CLI using NPM.
Run the following command to install AWS CDK CLI.
npm install -g aws-cdk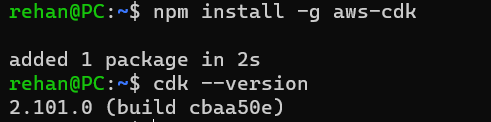
Need help?
Start a discussion on GitHub if you’ve got questions or improvements. Open discussions →
Series