How to Install and Run WordPress on an EC2 Instance
A detailed guide on how to configure, install, and run WordPress on an EC2 instance. This guide will cover installation of NGINX, PHP, MySQL, and WordPress (LEMP stack) on Amazon Linux 2
On this page
There are few technologies that divides the Web Developers as sharply as WordPress. Launched in 2003, WordPress is a content management system (CMS) for creating and managing web sites that is estimated to power more than 42% of websites in the world.
It is loved by users because of it’s Free and Open Source (FOSS) nature but hated by developers due to it’s clunky and bloated codebase under the hood.
Nevertheless, WordPress is going nowhere hence in this guide we will cover how to install, configure, and run WordPress on an EC2 instance.
How to install WordPress on an EC2 instance?
We will do the following steps to install WordPress on an EC2 instance:
Create an EC2 instance
We will use the instructions in this previous guide to create an EC2 instance using AWS CLI.
If you wish to use AWS Management Console instead, follow the steps in this guide.
We will use Amazon Linux 2 AMI and t2.micro instance for this tutorial.
a) Run the below script to create an EC2 instance:
AMI_ID=ami-090fa75af13c156b4
echo "Using AMI_ID: $AMI_ID"


INSTANCE_TYPE=t2.micro
echo "Using INSTANCE_TYPE: $INSTANCE_TYPE"

aws ec2 create-key-pair \
    --key-name my-key-pair \
    --query 'KeyMaterial' \
    --output text > my-key-pair.pem

chmod 400 my-key-pair.pem
echo "Created my-key-pair.pem"

SECURITY_GROUP=$(aws ec2 create-security-group \
    --group-name "my-web-sg" \
    --description "Web security group" \
    --query 'GroupId' \
    --output text) && \
echo "Security group created with id $SECURITY_GROUP"

aws ec2 authorize-security-group-ingress \
    --group-id $SECURITY_GROUP \
    --protocol tcp \
    --port 22 \
    --cidr 0.0.0.0/0

aws ec2 authorize-security-group-ingress \
    --group-id $SECURITY_GROUP \
    --protocol tcp \
    --port 80 \
    --cidr 0.0.0.0/0

aws ec2 authorize-security-group-ingress \
    --group-id $SECURITY_GROUP \
    --protocol tcp \
    --port 443 \
    --cidr 0.0.0.0/0


SUBNET_ID=$(aws ec2 describe-subnets \
    --filters "Name=availability-zone,Values=us-east-1a" \
    --query "Subnets[0].SubnetId" --output text) && \
    echo "Subnet ID for us-east-1a: $SUBNET_ID"


INSTANCE_ID=$(aws ec2 run-instances \
    --image-id $AMI_ID \
    --count 1 \
    --instance-type $INSTANCE_TYPE \
    --key-name my-key-pair \
    --security-group-ids $SECURITY_GROUP \
    --subnet-id $SUBNET_ID \
    --associate-public-ip-address \
    --tag-specifications 'ResourceType=instance,Tags=[{Key=Name,Value=my-ec2-instance}]' \
    --block-device-mappings '[{"DeviceName":"/dev/xvda","Ebs":{"VolumeSize":20,"VolumeType":"gp2"}}]' \
    --query 'Instances[0].InstanceId' \
    --output text) && \
echo "Instance launched with id $INSTANCE_ID"
b) Next, let’s assign a static Elastic IP address to the instance.
aws ec2 allocate-address \
    --domain vpc \
    --query 'AllocationId' \
    --output text > my-eip.txt

aws ec2 associate-address \
    --allocation-id $(cat my-eip.txt) \
    --instance-id $INSTANCE_ID
c) Get the IP address of the instance:
INSTANCE_IP=$(aws ec2 describe-instances \
    --instance-ids $INSTANCE_ID \
    --query 'Reservations[0].Instances[0].PublicIpAddress' \
    --output text)
echo "Instance IP: $INSTANCE_IP"
d) Login to the EC2 instance:
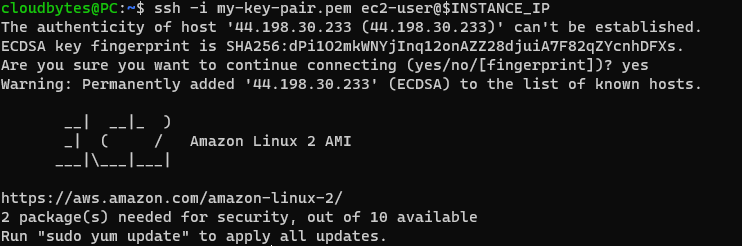
ssh -i my-key-pair.pem ec2-user@$INSTANCE_IPType yes to accept the RSA fingerprint and login to the server.
You should see the welcome message similar to below:
e) Update the packages by running the following command:
sudo yum update -yf) Use the which command to confirm amazon-linux-extras is installed:
which amazon-linux-extrasYou should see the following output:
/usr/bin/amazon-linux-extrasIf you get an error, install the amazon-linux-extras package:
sudo yum install -y amazon-linux-extrasInstall NGINX
a) Check if NGINX is available from amazon-linux-extras repository:
sudo amazon-linux-extras list | grep nginxThis will list the latest version of NGINX available in the repository and its installation name.

b) Enable the NGINX package for installation:
sudo amazon-linux-extras enable nginx1This will print out the modules that have been enabled.
c) Install NGINX:
sudo yum clean metadata && sudo yum install nginx -yd) Confirm that NGINX is installed by checking the version:
nginx -ve) Start NGINX:
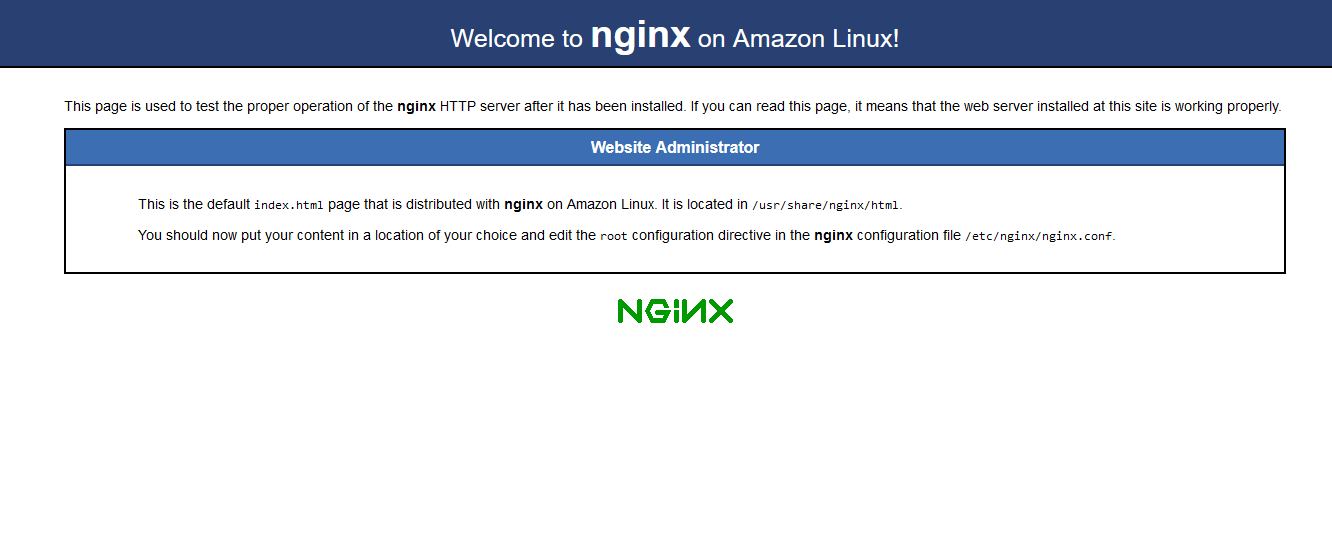
sudo systemctl start nginxNow if you open the IP address of the instance in your browser, you should see the following message:
f) Configure NGINX to start on boot:
sudo systemctl enable nginxInstall PHP
a) Check the versions of PHP available in the repository:
sudo amazon-linux-extras list | grep php
b) Enable the PHP package for installation:
sudo amazon-linux-extras enable php8.0c) Install PHP:
sudo yum clean metadata && sudo yum install yum install php-cli php-pdo php-fpm php-mysqlnd -yd) Confirm that PHP is installed by checking the version:
php -ve) Start PHP:
sudo systemctl start php-fpmf) Configure PHP to start on boot:
sudo systemctl enable php-fpmConfigure NGINX to serve PHP
By default NGINX is configured to use /usr/share/nginx/html as the web root with the directory owned by root user.
So if you wanted to edit the index.html file, you would need to run the below command, you will get an Permission denied error message:
echo "Hello World" > /usr/share/nginx/html/index.htmlTo fix this we will need to change the ownership of the web root to nginx user and add ec2-user to the group.
a) First create a new group called nginx:
sudo groupadd www-datab) Add ec2-user to the group:
sudo usermod -a -G nginx ec2-userc) Change the ownership of the web root to www-data user:
sudo chown -R ec2-user:nginx /usr/share/nginx/htmld) Logout and login again to pick up the group and new permissions:
exite) Restart NGINX:
sudo systemctl restart nginxf) Create a new file called phpinfo.php in the web root that calls phpinfo():
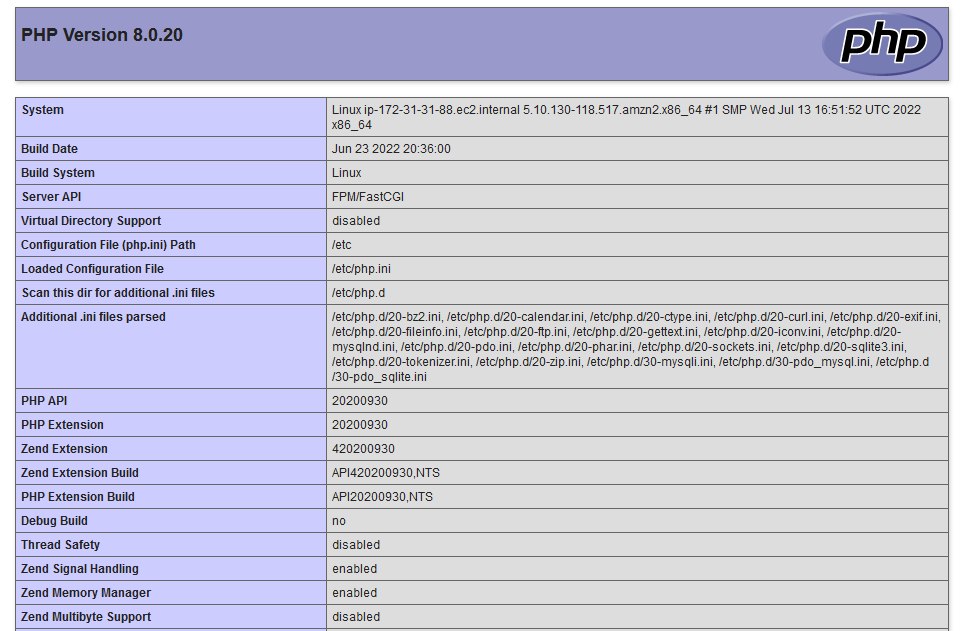
echo "<?php phpinfo(); ?>" > /usr/share/nginx/html/phpinfo.phpg) Now open the <ip-address>/phpinfo.php in your browser and you should see the following message:
h) Delete the phpinfo.php file. It contains sensitive information about your system that you should not share.
rm /usr/share/nginx/html/phpinfo.phpInstall MySQL/MariaDB
MySQL is not really an open source software now, instead we will use the open source fork MariaDB.
a) Check the versions of MariaDB available in the repository:
sudo amazon-linux-extras list | grep mariadbb) Enable the MariaDB package for installation:
sudo amazon-linux-extras enable mariadb10.5c) Install MariaDB:
sudo yum clean metadata && sudo yum install mariadb -yd) Confirm that MariaDB is installed by checking the version:
mysql --versione) Start MariaDB:
sudo systemctl start mariadbf) Configure MariaDB to start on boot:
sudo systemctl enable mariadbConfigure & Secure MySQL/MariaDB
a) Start the interactive MariaDB installation shell:
sudo mysql_secure_installationb) When prompted for current the root password, press Enter to accept the default. By default, there is no password set.
c) Next, you will be prompted to Switch to unix_socket authentication [Y/n], type Y to accept. This will allow you to connect to the database using your EC2 command line directly.
d) Then change the root password to something secure. Type Y then enter the new password and reconfirm.
e) Next, you will be prompted to Remove anonymous users [Y/n], type Y to accept.
f) Next, you will be prompted to Disallow root login remotely [Y/n], type Y to accept.
g) Next, you will be prompted to Remove test database and access to it [Y/n], type Y to accept.
h) Next, you will be prompted to Reload privilege tables now [Y/n], type Y to accept.
This will complete the installation.
Create the database
a) Login to the MariaDB shell:
mysql -u root -pb) Create a new database called dbase:
CREATE DATABASE dbase;Exit the MariaDB shell:
exitInstall WordPress
a) Download the latest WordPress release from wordpress.org.
wget https://wordpress.org/latest.zipb) Unzip the WordPress release:
unzip latest.zipc) Move the WordPress files to the web root:
mv wordpress/* /usr/share/nginx/htmld) Change the ownership of the web root to nginx user:
sudo chown -R ec2-user:nginx /usr/share/nginx/htmld) Delete the WordPress files:
rm -rf wordpressConfigure WordPress
a) Navigate to the web root
cd /usr/share/nginx/htmlb) Create a new file called wp-config.php from wp-config-sample.php:
cp wp-config-sample.php wp-config.phpc) Edit the wp-config.php
nano wp-config.phpMake sure you don’t use sudo when editing the file.
d) Make the following edits to the wp-config.php file:
- Replace
database_name_herewithdbase. - Replace
username_herewithroot. - Replace
password_herewith the password you set earlier.
Press Ctrl+X and Y followed by Enter to save and exit.
Start WordPress
To start WordPress you will need to open the <ip-address>/wp-admin/install.php in your browser. You should see the following:
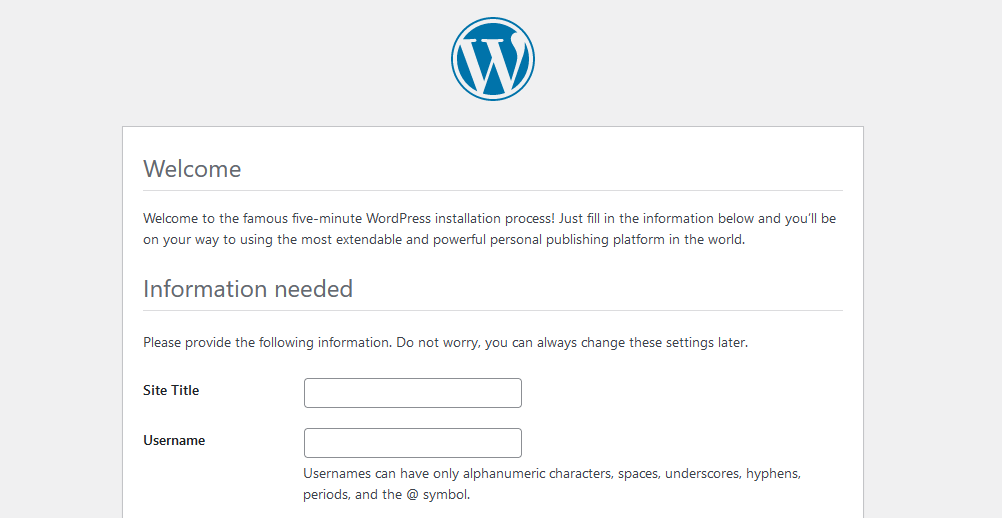
a) On Information Needed tab, provide the requested information and click Install WordPress. This should complete the installation process. Now you should be able to access the <ip-address>/wp-admin/ in your browser and login using the username and password you set.
b) Open the <ip-address> in your browser to see the newly created site.

Need help?
Start a discussion on GitHub if you’ve got questions or improvements. Open discussions →
Related posts
How to create a Lambda function in a Custom Docker image using AWS CDK in Python
Mount Amazon FSX Lustre filesystem and attack to AWS EC2 instance
Mount Amazon EFS Drive on EC2 Ubuntu Linux using NFS Utils
Get your AWS Account ID using AWS CLI
How to install and configure AWS CLI on Linux with Autocompletion