How to create an AWS EC2 instance using AWS Console
A guide to create an EC2 instance using AWS Management console and login to the server
On this page
EC2 (Elastic Cloud Compute) is the original IaaS cloud service launched by Amazon in the mid-2000s which since then has launched the new era of cloud computing.
EC2 allows you to create an manage a virtual machine (VM) in cloud without having to worry about the hardware or virtualisation software.
How to create an EC2 instance?
We will create an EC2 instance in this tutorial using the AWS Management Console.
If you’re looking for a tutorial on how to create EC2 instance using the AWS Console, please see below
Create an EC2 instance using AWS Management Console
To create an EC2 instance using AWS Management Console, we need to do the following:
- Go to the AWS Management Console
- Choose a region: In this tutorial, we will use us-east-1.
- Launch the instance: Click on the Launch Instance button.
- Choose Name: Give the instance a name.
- Choose the AMI: In this tutorial, we will use the Amazon Linux AMI.
- Choose the instance type: In this tutorial, we will use t2.micro.
- Choose the key pair: The key pair that you want to use to log into the instance.
- Choose the Availability Zone / Subnet: In this tutorial, we will use us-east-1a.
- Choose the security group: In this tutorial, we will create a new security group that permits SSH access.
- Choose Storage: In this tutorial, we will use an
gp2volume of 20GB - Launch the instance: Click on the Launch Instance button.
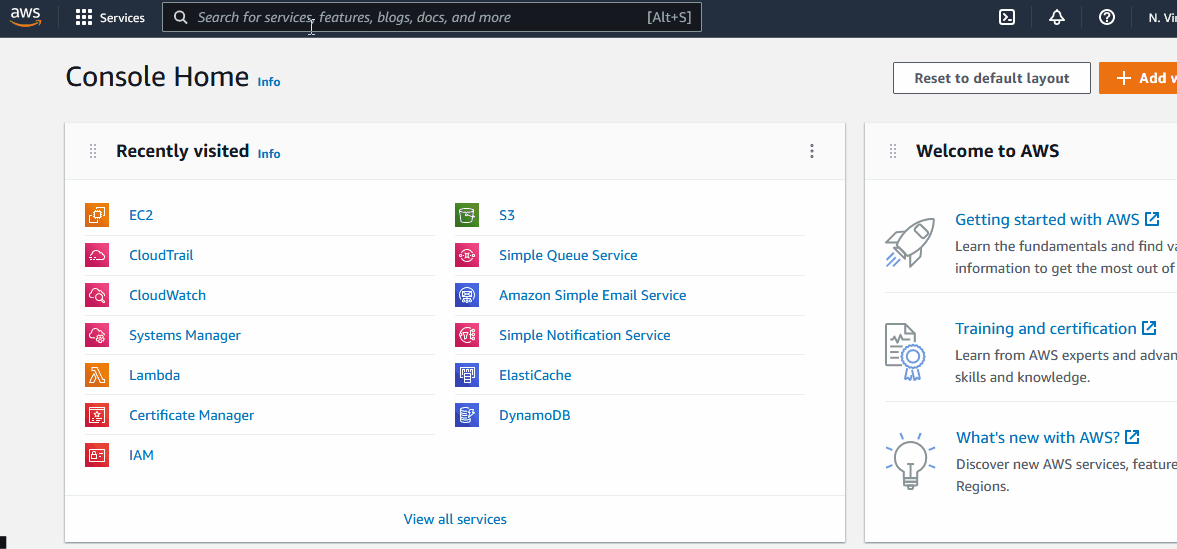
1. Go to the AWS Management Console
a) Login to the AWS Management Console and search for EC2 and then go to the EC2 console.
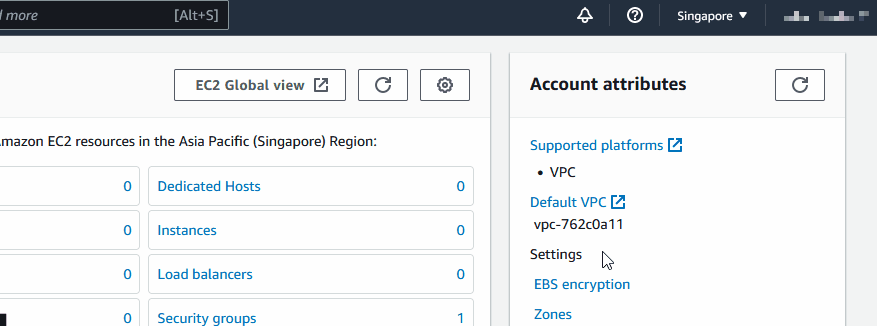
2. Choose a region
a) From the dropdown in top right corner, select the region you want to use.
3. Launch the instance
a) Click on the Instances on the left navigation panel
b) Click on the 🔽 icon to the left of Launch instances button to expand the Instances section
c) Click on the Launch Instances button

This will launch the interactive launch wizard.
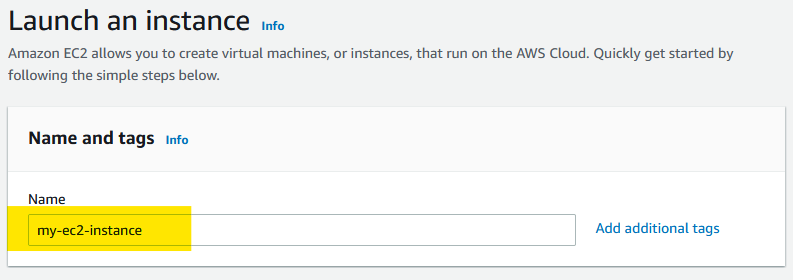
4. Choose Name
a) Under “Name and tags” enter a name for the instance. E.g., I chose the name my-ec2-instance
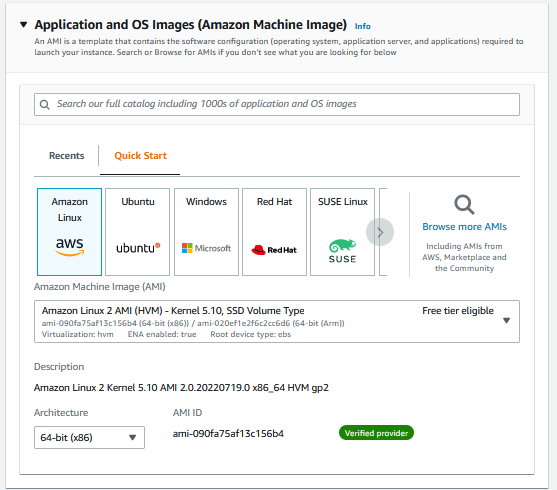
5. Choose the AMI
a) Under “Application and OS Images (Amazon Machine Image)” choose “Amazon Linux” by click on it
b) This will automatically select the latset version of the AMI & platform Architecture
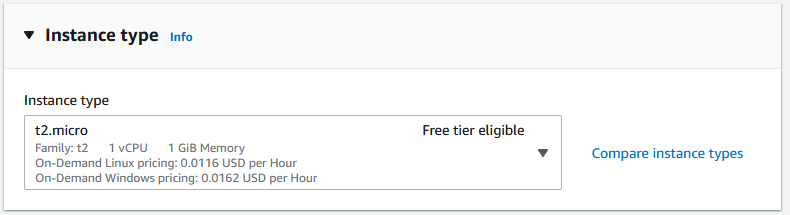
6. Choose the instance type
a) Under “Instance type” choose “t2.micro”
7. Choose the key pair
a) Under “Key pair (login)” if you already have a key pair, select it.
b) If you dont, click on Create a new key pair
- In the Create key pair dialog, choose a Key pair name, leave the other options as default. Then click on Create key pair button at the bottom
- Click on the
refreshbutton on the right of the Select dropdown to refresh the list of keypairs - Select the key pair you created from the dropdown
8. Choose the Availability Zone / Subnet
a) In the Network settings, click on Edit button
b) Under Subnet, select the subnet you want to use. E.g., I chose the one that mapped to us-east-1a
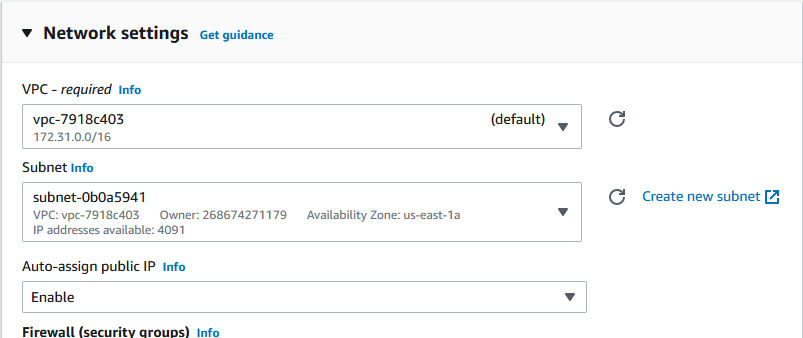
c) Under, Firewall (security groups), click on Create security Group radio button
d) Enter a name for the security group. E.g., I chose the name my-web-sg the change the description to Web security group
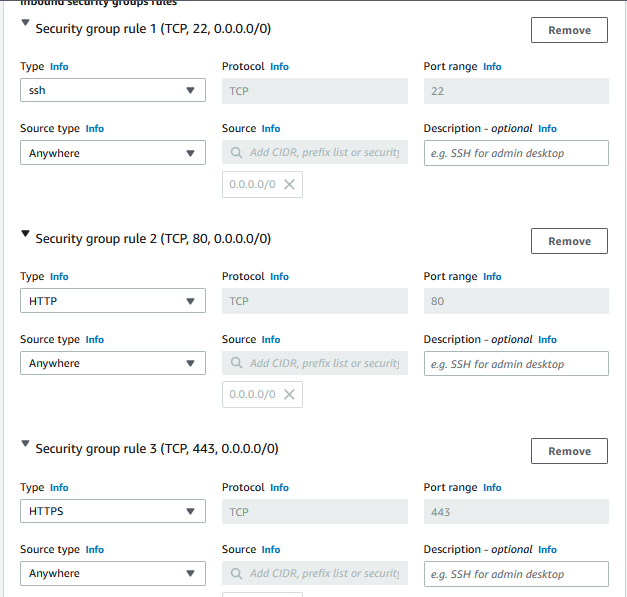
9. Choose the security group
e) Under Inbound secruity groups rules, click on Add security group rule
- Change the type to
ssh - Change the source to
Anywhere
f) Click on Add security group rule again,
- Change the type to
http - Change the source to
Anywhere
g) f) Click on Add security group rule again,
- Change the type to
https - Change the source to
Anywhere
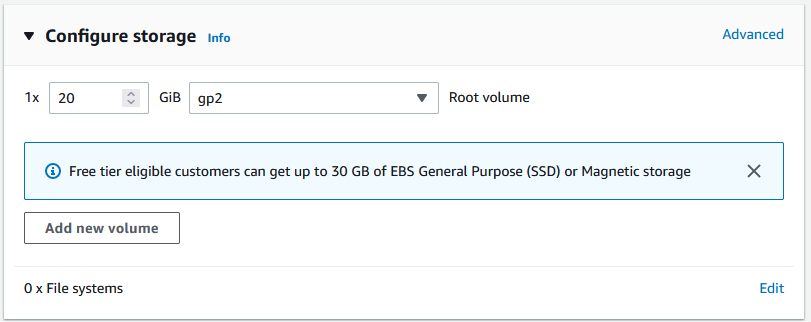
10. Choose Storage
a) Under Configure storage, change the size to 20GB and the type to gp2
11. Launch the instance
a) Scroll down to the bottom of the page and click on Launch instance button under Summary
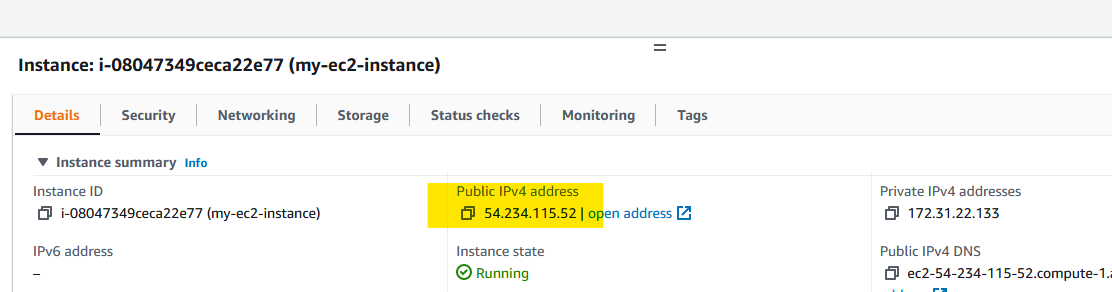
b) Wait for the instance to be created, after success, scroll down to the bottom and click on View all instances button
c) If you don’t see anything, hit the refresh icon at the top

Now your EC2 instance is created. Select the instance, at the bottom you should see the public IPv4 address. You can use this address to access the instance.
Logging into the EC2 instance
a) With he IP address, we can log into the instance. Open a terminal and run the following command to log into the instance.
ssh -i my-key-pair.pem ec2-user@$INSTANCE_IPYou may be asked for confirmation similar to below, type Yes and press enter.
The authenticity of host '54.173.196.189 (54.173.196.189)' can't be established.
ECDSA key fingerprint is SHA256:jm9pK6nGCsOVkQKfeQTG080hrb3G8Y2k1jeDwkNF4Og.
Are you sure you want to continue connecting (yes/no/[fingerprint])?
This should log you into the instance.
Need help?
Start a discussion on GitHub if you’ve got questions or improvements. Open discussions →